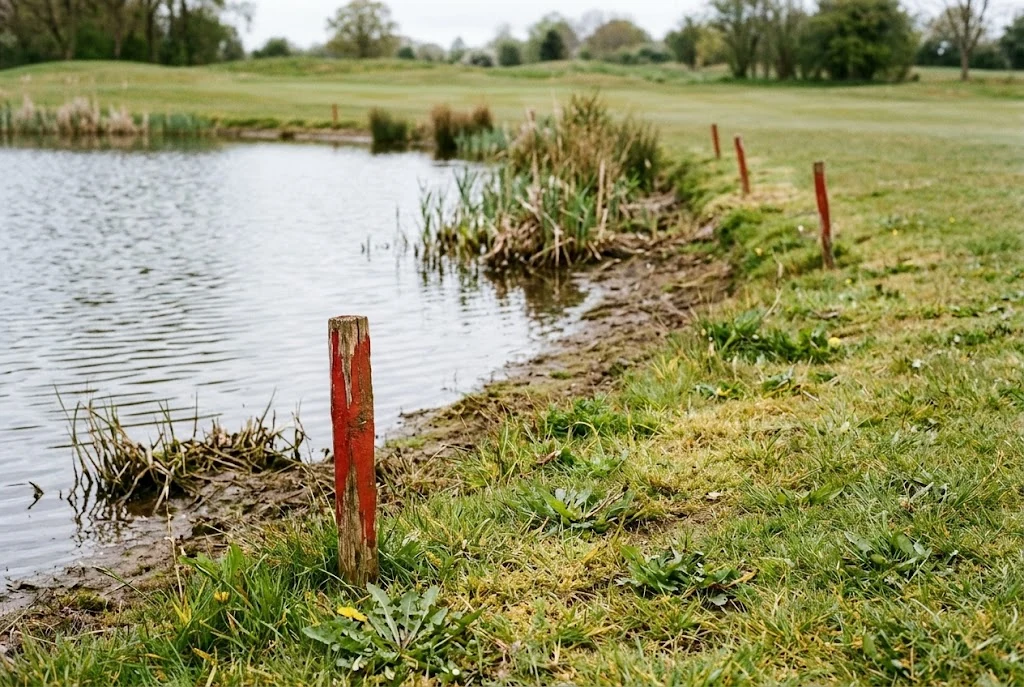
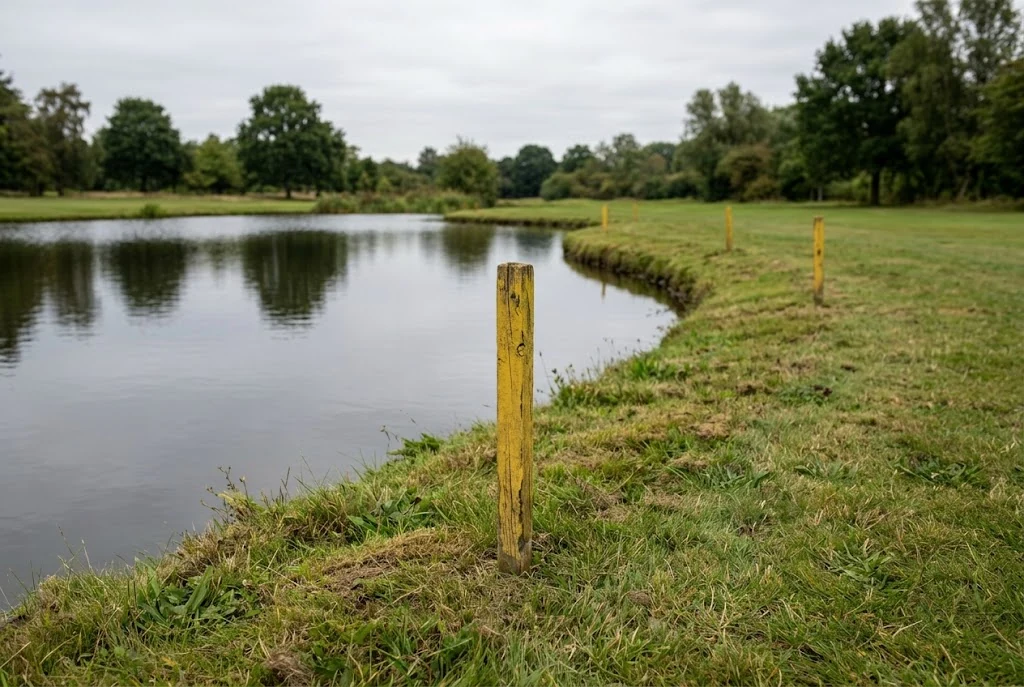
Red and yellow penalty areas share stroke-and-distance and back-on-the-line relief, each for one penalty stroke. Red also offers lateral relief within two club-lengths of the estimated last crossing point, no nearer the hole. Before choosing, establish the relevant edge, the ball’s route and any Local Rule or no-play-zone restriction.
Identify the penalty area before choosing relief
A pond is an obvious place to look for markings, but appearance alone is a poor way to make a ruling. Find the defined edge and its colour. If you cannot tell how an area is marked, ask rather than assuming that every difficult place is a penalty area. For a difficult ball outside a penalty area, unplayable-ball relief is a separate procedure with its own options and penalties.
Watch the ball’s route when possible. The place where it last crossed the edge can be different from its first splash, the nearest bank or where it eventually stops. That distinction matters before you measure anything.
The R&A’s current Rule 17 governs these situations. The table below compares the ordinary relief choices; special situations and Local Rules need their own check.
Compare the ordinary options
| Choice | Yellow | Red |
|---|---|---|
| Stroke-and-distance relief | Available for one penalty stroke. | Available for one penalty stroke. |
| Back-on-the-line relief | Available for one penalty stroke. | Available for one penalty stroke. |
| Lateral relief | Not an ordinary option. | Available for one penalty stroke. |
The USGA’s penalty-area guidance also explains that you can generally play a ball as it lies in the area without penalty. A no-play zone is an important exception. Do not enter a dangerous or prohibited place merely because playing a ball might otherwise be allowed.
Use the correct reference for your chosen option
Stroke-and-distance takes you back to where the previous stroke was made, using the applicable procedure. For back-on-the-line relief, drop outside the penalty area on the line extending away from the hole through the estimated last crossing point. The first ground contact creates a one-club-length relief area around that spot. It cannot extend nearer the hole than the crossing point or into the same penalty area; the ball must remain in the same area of the course it first touched.
For red-area lateral relief, measure from the estimated last crossing point. The relief area extends two club-lengths, is not nearer the hole and cannot be in the same penalty area. It is not a two-club-length move from whichever bank is easiest to reach.
If you are unsure whether a proposed spot satisfies the option, ask before dropping. Selecting an easier-looking patch first and trying to justify it afterwards reverses the decision.
A fictional example: first crossing versus last crossing
Imagine a ball carrying over part of a red-marked pond, landing beyond it, then rolling back across the edge into the pond. A player who watched only the first part of the flight may point towards the wrong crossing.
Reconstruct the sequence before deciding where to measure. Explain what you actually saw and distinguish it from an estimate. Do not quietly replace uncertainty with the position that gives the shortest next shot.
Now imagine the same sequence at a yellow-marked area. The extra lateral option is absent, even if a convenient patch of grass sits within two club-lengths of the last crossing point. The colour changes the choices, not the need to identify the route.
Do not confuse a missing ball with a confirmed penalty-area ball
If a ball is not found, using penalty-area relief requires it to be known or virtually certain that it came to rest there. If that condition is not met and the ball is lost, the lost-ball procedure applies instead. “It probably went towards the pond” is not a complete assessment.
The provisional-ball guide owns the separate question of when to announce and play a provisional. Read it before treating a provisional as a general extra ball for any uncertain shot.
Finish with the right dropping procedure
Rule 14.3 requires the player to drop correctly from knee height and for the ball to finish in the relevant relief area. Each option has location requirements, so a correct dropping height does not rescue a wrong location.
Before continuing, check the area colour, applicable reference point, relief option, penalty stroke and final ball position. If the ball does not finish where the procedure permits, follow Rule 14 rather than playing it simply because it has stopped.
Keep the scoring explanation straightforward: a penalty stroke is added to the strokes actually made. For a simple example, if your first tee shot finishes in a penalty area and you take an ordinary one-stroke relief option, your next stroke is your third: one stroke played plus one penalty stroke. Our golf scoring guide helps with the terminology. For an unfamiliar or disputed situation, consult the Committee with the facts before relying on a general comparison table.